27.02.2015

Her güne bir desen 25-28/ A pattern everyday 25-28

Şubat ayının bitişi ile hergüne bir desen etkinliği de bitmiş oluyor. İlk defa bir sanat egzersizini bu kadar düzenli yapabildim. 
Bu haftanın desenleri. Hepsi de eski kitap sayfaları üzerine akrilik/ ıstampa mürekkebi/markör/ roller kalem ile. Damgaları da farklı zamanlarda ben yapmıştım:
------------
With the end of February a pattern everyday comes to an end. For the first time in my life i did a prompt so regularly.
Here are this week's patterns. All on altered book pages with acrylics/ endorsing ink/ markers/ roller pens. I have also made the stamps formerly at different times:


Ve hepsi birarada
---------
And all of them together


25.02.2015

Her güne bir desen 20-24/ A pattern everyday 20-24

eski kitap sayfası üzerine akrilik/ ıstampa mürekkebi
--------------
on altered book pages with acrylic/ endorsing ink


eski kitap sayfası üzerine ıstampa yastığı ve akrilik ile
---------------------------
on altered book pages with stamping pad containing acrylic paint


eski kitap sayfası üzerine ıstampa mürekkebi
--------------
on altered book pages with endorsing ink


eski kitap sayfası üzerine ıstampa mürekkebi
--------------
on altered book pages with endorsing ink


eski kitap sayfası üzerine ıstampa mürekkebi
--------------
on altered book pages with endorsing ink


22.02.2015

52 haftada baskı yapmak 1. Hafta / 52 weeks of printmaking Week 1


Öncelikle eskiz kağıdına bir makas şekli çizip deseni lastik panoya geçirdim ve oydum. Önce kağıt üzerinde ıstampa mürekkebi ile deneme yaptım.
----------
First i have drawn scissors on sketch paper, transferred it to foam board and carved it. First I tried the stamp on paper with endorsing ink.


Bu kumaş eski bir kılıfın parçasıydı. Amerikan bezi denilen, boyasız, işlem görmemiş, ham pamuklu bir kumaş. Yıkayıp ütülemiştim. Kendi yaptığım akrilik sprey boya ile tüm yüzeyi kapladım. Kumaş bir gece kurudu. Gerçekte tok bir kırmızı olmasına rağmen sprey boya su ile seyreltildiği için pembemsi bir renk oluştu. O yüzden kumaş üzerine fırça ile yeniden kırmızı akrilik boya sürdüm. Yüzeyi tamamen kapatmadım, ara ara boyayı uyguladım. Birkaç gün sonra da beyaz akrilik boyayı fırça ile kumaş üzerine serptim.
----------------------------
This fabric was a piece of a cushion case. Unpainted, raw cotton fabric. I have washed and ironed it. Then i have covered it with the homemade acrylic spray paint. I let the fabric dry overnight. Though it was supposed to be a deep rich red color as the spray was diluted with water it became pinkish. Thus, i have applied red acrylic paint with brush afterwards. But i did not cover the whole surface, just here and there. After a few days i dripped white acrylic paint with a brush on top.


Kumaşa baskı yapmadan önce biraz ölçüm yaptım. Kumaş 26 x 31 cm idi. Damga da 4 x 10 cm gibiydi. Damgayı oranlayınca ancak 2 sıra sığacağını gördüm. Cetveli hiza almak için kumaşın ortasına koydum. Bunun yerine kumaş kenarını katlayarak referans olarak kullanmak da mümkündü. Her 5 cmde bir damgaladım.
------------
Before i started printing i did some measuring. The fabric was 26 x 31 cm. And the stamp was approximately 4 x 10 cm. When i scaled  i saw that only 2 rows would be possible. I used the ruler in the middle of the fabric for aligning. I could have folded the fabric edge for reference, too. I stamped the image every 5 cm.


Sonuçta baskı biraz soluk oldu. (baskı için kullandığım renk turkuaz) Yer yer boşluklar da var. Ama fotoğraftaki kadar da soluk değil. Ben doğrudan cam masa üzerinde baskı yaptım. Yumuşak bir yüzey kullansam daha iyi olabilirdi. (araya başka bir kumaş ya da havlu koysam) Bir de damgaya boya alırken ıstampaya daha çok bastırabilirdim. İlk anda boya dağılacak diye biraz çekindim. İlk deneme için fena değil :) 
Ek (25.02.2015): Kumaşı soğuk sabunlu su ile yıkadım. Renk vermedi, solmadı. Daha sonra yünlü programında deterjan ile makinede yıkadım. Yine sorun çıkmadı. 
----------------------------------
So the print turned a bit faded. (i used turquoise color for printing) There are gaps here and there, too. But the print is not as washed out as it seems in the photo. I printed directly on a glass table. It might have been better if i had used a softer surface to print on. (like putting an extra layer of fabric or towel underneath) And i could have pressed more when i was taking paint onto the stamp from the pad. I was afraid that i would smear the paint at first. All in all it is not that bad for the first trial :)
Addition (25.02.2015): I washed the printed fabric with cold water and soap. It did not release any color during the wash and no fading occurred. Then i washed it in the machine with detergent on wool program. Again there was no problem.

Evde akrilik boya için ıstampa yapmak/ Making a stamp pad for acrylic paint

Kumaş üzerine baskı yapmak için damgaları kullanacaksam ya fırça ile akrilik boyayı sürmem gerekecekti ya da bir ıstampa yapacaktım. Üşengeçlik baskın çıktı, ıstampayı denemeye karar verdim. Bu yöntemi bulan ve anlatan kişi Alma Stoller. Ben burada kendi denememi anlatıyorum.
---------------
In order to print on fabric with stamps i would either have to paint them every time or i would have to make a stamp pad. In the end laziness took over and i decided to make my own stamp pad. The person who designed and told this technique is Alma Stoller. I talk about my trial here.


Bir bulaşık süngerini ıslatın. Sıkarak fazla suyu atın. Sonra plastik bir kaba alın. Üzerine birkaç damla kokulu yağ damlatın. (Bergamut, portakal gibi doğal yağlar olabilir. Ben evdeki bebek yağını kullandım.) Süngerin kötü kokmasını engelleyecek.
---------------------------
Wet a kitchen sponge. Rinse the excess water and put it inside a plastic container. Dab a few drops of scented oil on the sponge. (I used baby oil at home) This will prevent the sponge from going stinky.


Bunun üzerine birkaç damla gliserin damlatın. (Ben evde olmadığı için bu aşamayı atladım. Gliserin akrilik boyanın çabuk kurumasını engelliyormuş) Ve fırça ile akrilik boyayı sürün. Kapağını kapalı tutarsanız süngeri tekrar tekrar kullanabileceksiniz. İstenirse başka bir renk boyayı en üste sürerek yenilemek de mümkün. Renkler karışmıyor.
------------
Dab a few drops of glycerin. (I skipped this step as i did not have glycerin at home. Glycerin will act as a retarder.) And brush on the acrylic paint. If you keep the lid closed you will be able to use the sponge over and over. If you want you can paint a different color on top and renew the stamp pad. Colors do not mix.

Evde akrilik sprey yapmak/ Making acrylic spray at home

Bu yöntemi yine Julie Balzer'ın blogunda ve farklı birkaç yerde internette gördüm. Blogda ayrıntılı bir video da var. Öncelikle boş bir sprey şişesine ihtiyaç var. Bunu satın almak mümkün ama ben evde boşalan bir şişeyi temizleyerek kulandım.
-----------
I have seen this method on Julie Balzer's blog and some other places on the internet. The blog has a detailed video, too. First of all you need an empty spray bottle. You can buy it but i have used an old bottle that i have cleaned. 


Şişenin içine 1 çay kaşığı kadar akrilik boya koyuyoruz. Ben önce sanatsal akrilik boya kullandım (daler-rowney simply acrylic). Hobi boyalarından farkı daha kalıcı, daha akışkan vb olması sanırım, tabii ki fiyatı da daha yüksek. Ama bu boyalar şeffaf çıktı, kapatıcılığı yok. Dolayısıyla başka bir renkle çakıştığında neredeyse kayboluyor. (Akrilik boyaların şeffaf ve opak olarak ikiye ayrıldığını ben bilmiyordum. Öğrenmenin tek yolu denemekmiş :) O yüzden 2. denemede hobi için satılan akrilik boyadan ekledim (cadence). Çok daha doygun bir renk oldu.
-------------
We add 1 teaspoon of acrylic paint inside the bottle. At first i used art quality acrylic paint (daler-rowney simply acrylic). The difference from hobby paints is that it is more permanent, more plastic etc i guess, of course the price is higher. But these paints turned out to be transparent, they do not cover other layers. They almost disappear when juxtaposed with other colors. (I did not know that acrylic paints are either transparent or opaque. The only way to learn was to try out :) Thus on my 2. trial i used hobby acrylic paint (cadence). I got a more opaque color.


Sonra çay kaşığının ucu ile, yani birkaç damla mod podge ekliyoruz. Mod podge spreyin kalıcılığını ve yüzeye yapışmasını sağlıyor. Bunun yerine beyaz tutkal ya da jel medium da kullanilabilir.
-------------
Then we add a very small amount of mod podge (tip of a teaspoon). Mod podge makes the spray permanent and stick to the surface. One can use white glue or gel medium as well. 


Sonra biraz su ekleyip şişeyi güzelce çalkalıyoruz. Julie'nin sayfasında yarım şişe su diyordu ama bu miktar şişenin büyüklüğüne göre değişir. Miktarı deneyerek artırmakta fayda var. Çok su olursa kağıt üzerinde gölleniyor, kağıt havlu ile fazlasını almak gerekiyor. Bir de renkler soluyor. Bana göre 1-2 parmak su yeter.
---------------
Then we add a little bit of water and shake the bottle well. On Julie's page it says half a bottle of water but it depends on the size of the bottle. It is better to adjust the amount by trial. If you put too much water it pools on the paper and you have to drain it with paper towel. And the color fades. For me 1-2 inches of water is enough.


Spreyi kağıt üzerinde de kumaş üzerinde de denedim. Hızlı bir şekilde oldukça geniş bir alanı kaplayabiliyorsunuz. Ama tabii ki fırça ile sürülen boya gibi bir renge ulaşmak mümkün değil.
------------
I have tried the spray on paper and fabric. You can cover a large surface very quickly. But you will never get a color like you have when you apply paint with a brush.

19.02.2015

Her güne bir desen 17-18-19/ A pattern everyday 17-18-19

eski kitap sayfası üzerine akrilik+yağlı pastel+markör
--------------------
on an altered book page with acrylic+oil pastel+marker


eski kitap sayfası üzerine akrilik+yağlı pastel+markör
--------------------
on an altered book page with acrylic+oil pastel+marker


eski kitap sayfası üzerine akrilik+markör
--------------------
on an altered book page with acrylic+marker


52 haftada baskı yapmak/ 52 weeks of printmaking

Kimi insanlar için yeni yıl planları yapmak Aralık ayında gerçekleşen bir eylemdir. Kimi insanlar için de yeni yılın geldiğini ve zamanın hızla geçtiğini anlamak Şubat ayını bulur. Ben o ikinci gruba dahilim. 2015 için yapmak istediğim birkaç proje var. Bunlardan ilki kumaş üzerine baskı yapmak. Şubat ayında her gün bir desen üzerinde çalışırken* bu fikir oluştu. Kağıt üzerinde yaptığım denemeleri kumaşa da aktarabilirim diye düşündüm. Günlük sanat egzersizlerini bütün bir yıla yaymam mümkün değil. Ama haftada bir yapılacak bir projenin üstesinden gelebilirim sanırım. Aslında bu projeyi geçen yıl oluşturan ve 52 hafta boyunca uygulayan kişi Jen Hewett. Hewett mesai saatleri içinde bir halkla ilişkiler uzmanı. Mesai saatleri dışında ise bir baskı sanatçısı. İpek ekran, linol ya da lastik malzeme kullanarak kağıt ve kumaş üzerine baskı yapıyor. Tabii ki tasarımları kendisine ait. Blogunda projesini okuyunca ben de benzer bir şey yapabilir miyim diye izin istemek üzere ona yazdım. Kabul etti. Projenin başlangıç noktası aynı ama ben ek kurallar da koydum. İşte benim projemin kuralları:

1. Bu proje için yeni kumaş almak yok. Evde bulunan pamuklu kumaşları kullanacağım: Eski kılıflar, çarşaflar, giysiler ya da başka dikiş projelerinden artan yeni kumaşlar.

2. Baskı yaptığım kumaşların hepsiyle bir şeyler dikilecek. Çanta, kılıf gibi küçük projeler ya da giysi gibi daha karmaşık projeler. Zamanım ve sabrıma bağlı.

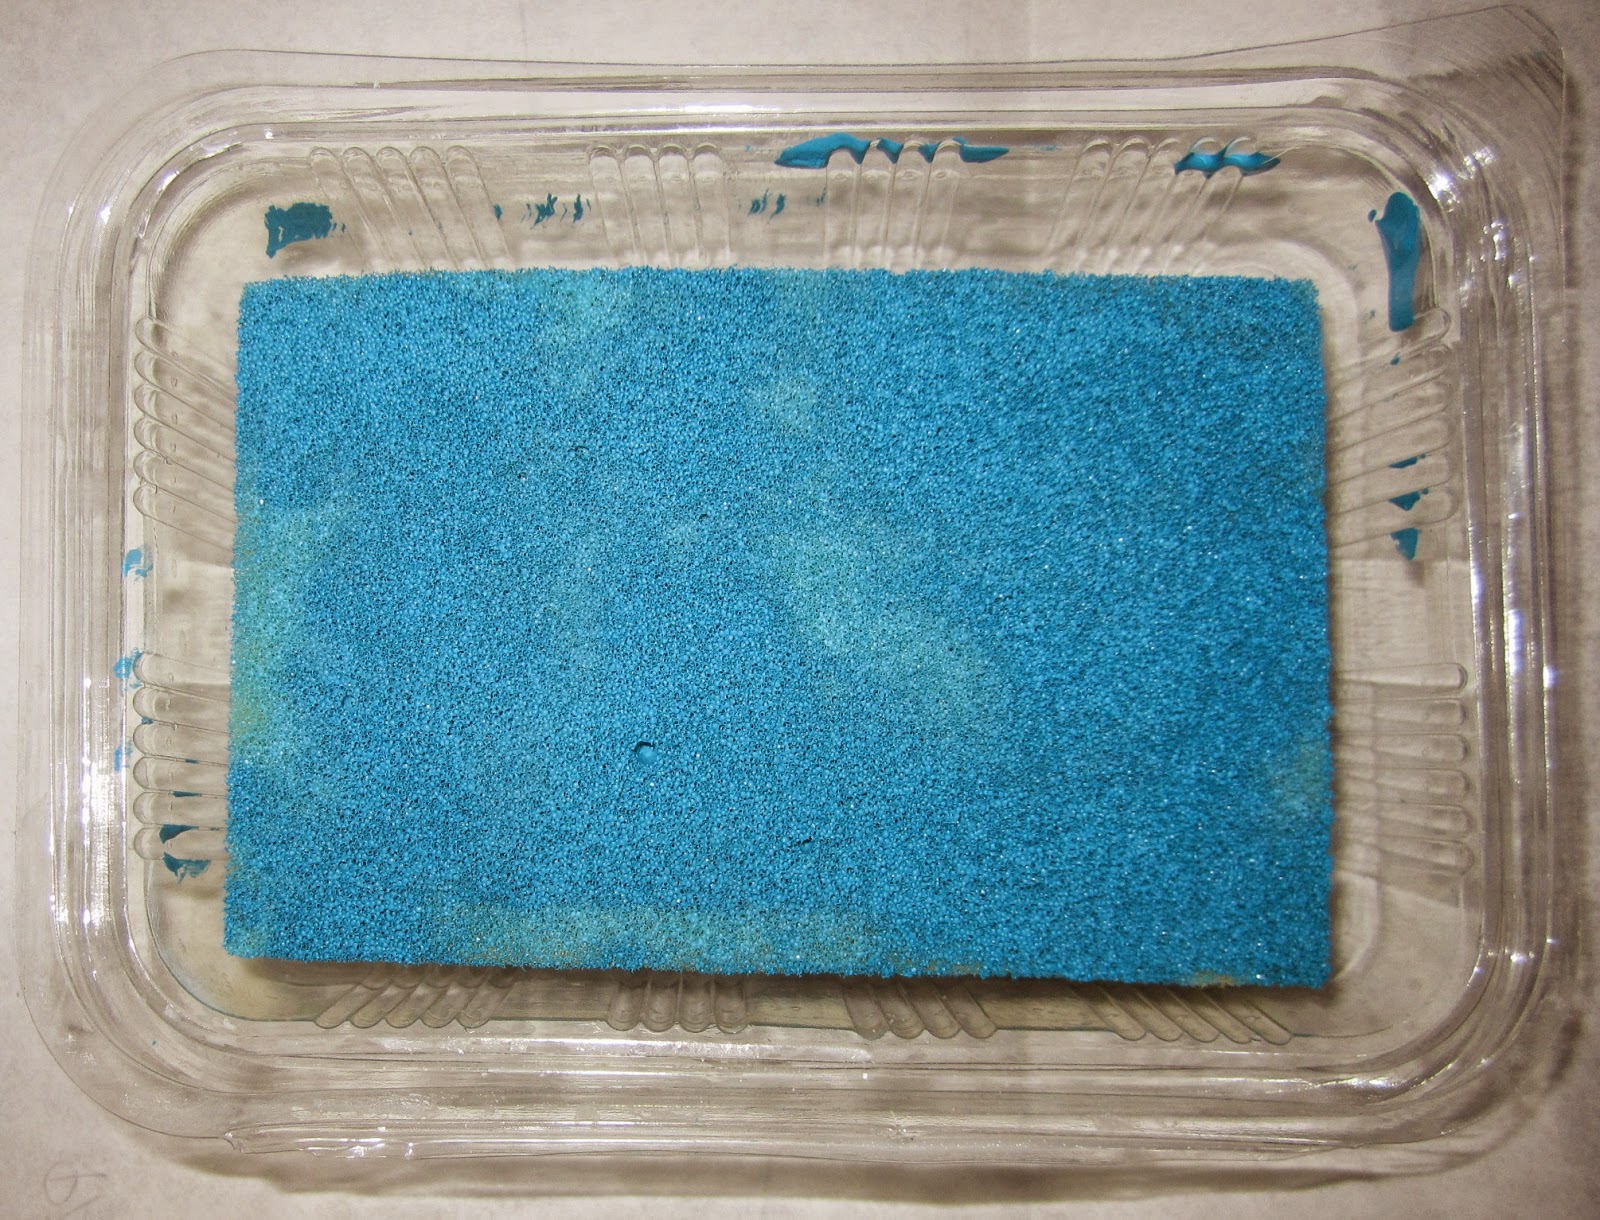
3. Baskıda kullanacağım damgayı da geri dönüşümlü malzemeden üreteceğim. Evde halen bulunan eski lastik panoyu parçalamakla / oymakla meşgulüm. Ama kağıt ya da kumaş üzerinde bir iz yapmak için kullanılabilecek çok şey var. Şişe kapakları, makaralar, kutular, oluklu mukavva ya da dokulu herhangi bir yüzey, kabarcıklı poşetler, farklı kalınlıklarda ip ve halatlar, kağıt havlu ruloları ilk aklıma gelenler. Doğrudan fırça ve boya ile de denemeler olabilir.

4. Baskı için akrilik boya kullanacağım. Çünkü evde akrilik boyalarım var ve kağıt üzerinde deneme yapıyorum zaten. Akrilik boya su bazlı, kuruduğunda suya dayanıklı hale geliyor, kumaşı da sertleştiriyor. Dolayısıyla giysiler için çok uygun değil. Ama akrilik boyaya eklenince kumaş boyası gibi yumuşamasını sağlayan bir karışım var (fabric medium ya da textile medium diye satılıyor). Bunu deneyeceğim. Fırsatım olursa doğal boyalarla da deneme yapabilirim. Bir de poster boyası diye satılan boyalar var. Büyük şişelerde gördüm.

Blogumu kaç kişi okuyor hiçbir fikrim yok. Ama projeye katılmak isteyen olur mu acaba? Ben her pazartesi yaptıklarımı burada paylaşacağım. Katılmak isteyenler de linklerini yorumlar bölümüne yazabilirler. 

Ben sanatla ilgili hiçbir şeyin uzmanı değilim. Sadece sonsuz merakım ve denemek için isteğim var. Başarısız olmak umurumda değil. Hataların mükemmel projelerden daha çok şey öğrettiğine inanıyorum. Hayatta başıma iyi ya da kötü ne geldiyse "denemeden bilemezsin" dediğim içindir:) Bu yüzden pahalı malzemeler yerine elimde olanlarla yetiniyorum, evdeki çöpü bile kullanıyorum. Böylece çalışmamın özgünlüğünden de emin oluyorum. 

Projenin başlangıcı şerefine bugün gidip akrilik boya (120 MLsi 4 TL), kumaş/ tekstil medium (59MLsi 1 TL) ve fırça aldım. Eve gelince fırçalara bakarken üzerinde "keep smiling (gülümsemeye devam et)" yazdığını gördüm. Bundan iyi başlangıç olur mu :)

* Bu sanat egzersizini öneren kişi de Julie Fei-Fan Balzer. Julie Balzer bana göre oldukça yetenekli ve çalışkan bir sanatçı. Yaptığı herşeyi paylaşan, nasıl yaptığını anlatan ve hayata olumlu yaklaşımıyla herkesi sanat yapmaya çağıran süper bir kadın. Bloguna bakmak ilham için yeterli. Alisa Burke ve Tammy Garcia da benzer tutumları ile bana cesaret veren diğer iki kişi.


--------------------------------------------------------------------------------------------------

For some people making new year plans happens in December. While for some, realizing the coming of new year and how fast time flies only occurs in February. I am in this second group. I have a couple of projects that i want to do in 2015. The first one of these is printing on fabric. I had this idea while i was working on a pattern everyday* in February. I thought i could transfer my paper experiments to fabric, too. It is not possible to maintain daily prompts all through the year for me. But i guess i can manage a weekly project. Actually it was Jen Hewett who formed and did the project through 52 weeks last year. Hewett is in public relations business through regular work hours. Outside regular work hours she is an artist who does silk screen, linoleum or foam prints on fabric and paper. Of course she designs the patterns herself. When i have read her project on her blog i e-mailed to ask for her permission to do a similar project. And she said yes. Though the initial start is the same i have put some extra rules for myself. Here they are: 

1. No fabric buying for this project. I will use the cotton fabrics at home: Old pillow cases, bed sheets/ linens, clothes or leftover new fabric from other sewing projects. 

2. I will sew something with all my printed fabrics. Small projects like bags or pillow cases or more complicated ones like garments Depends on my time and patience.

3. I will produce my stamps from recycled materials. At the moment i am busy with cutting/ carving the unused foam board at home. But there are so many things which can be used for mark making on fabric or paper. Bottle caps, spools, boxes, corrugated cardboard or any textured surface, bubble wrap, strings and ropes of different thicknesses, paper towel rolls etc are the first on my mind. I may try using the brushes directly, too.

4. I will use acrylic paint for printing. Because i have them at home and i am experimenting on paper anyway. Acrylics are water based, they become waterproof when dry and stiffen the fabric. Thus, they are not suitable for fabrics which will become garments. But there is this medium (textile/ fabric medium) that turns acrylic paint into fabric paint by making it softer. I will try this. If i may i will give a try to natural dyes, too. And then there is this poster paint in big bottles.

I have no idea how many people read my blog. But maybe there might be people who would like to join. I will share my results here every monday. Those of you interested may post your links in the comment section.

I am not a specialist in anything art related. I just have a never ending curiosity and will to try. I don't care about failure. I believe mistakes teach more than perfect projects. Whatever happened to me good or bad in life is because i say "you never know if you do not try" :) That is why i try with what i have on hand instead of buying expensive materials, i use even my "garbage" at home. Besides, that is how i know my work is genuine. 

So in honour of the start of the project i bought acrylic paint (1,5 dollar for 120 ML), fabric/ textile medium (0,5 dolar for 59ML) and brushes today. At home i looked at the brushes and saw that it is written "keep smiling" on them. Could not start any better right :)

* It was Julie Fei-Fan Balzer who proposed this art prompt. In my opinion, Julie Balzer is a very talented and hardworking artist. She is a super woman who shares all she does, tells how she does and invites everyone to make art with her positive personality. Checking her blog is enough for inspiration.  Alisa Burke and Tammy Garcia are also two other women who encourage me in a similar way.

17.02.2015

Her güne bir desen 14-15-16/ A pattern everyday 14-15-16

düşünüp düşünüp yazmak, yazdığını silmek, kelimelerin yetersiz kaldığı zamanlar...yine de...
----------
constantly thinking and writing, erasing what i have written, there are times when words are not enough...still...


15.02.2015

"Özgürlük" Çanta/ "Freedom" Clutch


Taa geçen sene bu zamanlar akrilikle bir kumaş boyama denemesi yapmıştım. Boyutları yaklaşık 35 x 20 cm gibi bir şeydi. İleride bir çanta haline getiririm diye düşünmüştüm. Araya başka başka işler girdi, ben bir türlü devam edemedim. İlk fikrim de zamanla değişti. 
----------
Last year around this time i tried painting fabric with acrylic. The fabric was approximately 35 x 20cm. I thought i would turn it into a bag. But many things had intervened, i could not continue. And my initial idea had changed, too.
 
Sonunda bu hafta arka paneli de bambaşka renklere boyayıp bir çanta haline getirdim ve bir arkadaşıma doğumgünü hediyesi olarak verdim.
------------
 In the end, this week i painted the back panel in totally contrasting colors and turned them into a clutch and gifted to a friend of mine for her birthday.


Önce fermuarı dikmekle işe başladım. Kumaş ile fermuarı ön yüzleri birbirine bakacak şekilde üst üste koyup diktim.
----------
First i started with sewing the zip in place. I have put the fabric and the zip facing each other's right sides and sewn.


Aynı işlemi arka yüzde de tekrarladım. Fermuarı diktikten sonra, biraz araladım. Kumaşların ön yüzleri birbirine bakacak şekilde hizalayıp diğer 3 kenardan diktim. En sonunda fermuarın açık bölümünden bütün çantayı tersyüz ettim.
-----------
I have repeated the same on the rear face. I have opened the zip a little bit after i have sewn it. I aligned the fabrics on their right faces and sewn the other 3 sides. Finally i have turned the bag inside out from the unzipped part.


Akrilik boya kuruduğu zaman suya dayanıklı hale geliyor ve kumaşı sertleştiriyor. Kumaş neredeyse deri gibi oluyor. O yüzden çantaya ayrıca astar yapmadım. Buna rağmen çanta dik duruyor.
------------
When acrylic dries it becomes waterproof and stiffens the fabric. The fabric almost becomes like leather. That's why i did not sew lining. Still, the clutch holds its shape well.


13.02.2015

Her güne bir desen 12-13/ A pattern everyday 12-13

Bu iki desenden ilki başarısız bir deneme. İkincisi daha iyi sonuç verdi. Daha önce kestiğim lastik panodan bir damga daha yapmak istedim. Eskiz kağıdına bir balık resmi çizdim. Sonra da lastik panoya geçirdim.
-------------
The first one of these two patterns is a failure. The second one ended up better. I wanted to carve a stamp from the foam panel i have cut before. I drew a fish on tracing paper. Then i transfered it to the foam panel with pencil.


Panoyu kesmek yerine ısıtarak şekillendirmeyi denedim. Evdeki havyayı alıp çizgilerin üzerinden gittim. Daha önce nette ahşap yakma seti ile benzer bir uygulama yapıldığını görmüştüm.
----------
Instead of carving the foam panel i wanted to heat it for shaping. I took the soldering iron at home and went over the lines. Formerly i saw people using wood burner tools to do the same thing on internet.


Görünüşte fena değildi damga.
----------
Apparently it seemed ok at first.


Ama baskıyı görünce havyanın panoyu fazla ısıttığını anladım. Ucu kalın olduğu için çizgileri gereğinden fazla eritmiş. Sonuçta balıktan çok balık iskeleti gibi bir görüntü oluşmuş:)
--------
But when i saw the pattern i realized the soldering iron had heated the panel more than necessary. As the tip was thick the lines melted more than needed. As a result, instead of a fish the image looked more like a fish skeleton :)


Damgayı ters çevirip maket bıçağı ve bir kalemin ucu ile yeniden oydum. 
-------
I turned the stamp backwards and carved with a blade and the tip of a mechanical pencil.


Sonuç çok daha iyi oldu.
--------
Turned out much better.

Ve ikinci haftanın tüm desenleri:
----------
And the patterns of the second week altogether: